A Detailed Guide of How to Transfer MP3 Files to iPod
“Can someone share an easy guide on how to transfer MP3 files to an iPod? I have lots of MP3 files that are saved on my PC and I hope I can listen to them via my iPod.”
Though there have been lots of new devices that can satisfy every user’s needs when it comes to music streaming, we still can’t deny the fact that most of us still prefer using the iPod. Being too portable and a gadget that’s indeed dedicated to music listening, streaming has been so comfortable and convenient through iPods. Because iPods are lightweight and have storage capacities that are relatively large, bringing them while traveling out of town would always be great.
Another good thing about using iPod devices is that transferring files onto it is too easy to perform. However, for those who aren’t familiar and are new iPod users, the process of how to transfer MP3 files to an iPod could be daunting.
Our aim in this article is to share with readers the details procedure of how to get MP3 files from Apple Music and transfer MP3 files to an iPod with or without the use of the iTunes app. If you are now ready to confidently learn the guides you need, then start off by moving into the first part of this article.
Article Content Part 1: Transferring MP3 Files to an iPod via the iTunes AppPart 2: Transferring MP3 Files to an iPod Without Using the iTunes AppPart 3: Saving Apple Music Songs as MP3 Files to Your iPod DevicePart 4: Summary
Part 1: Transferring MP3 Files to an iPod via the iTunes App
One of the most common methods or ways of how to transfer MP3 files to an iPod is to use the iTunes app. It is a versatile app that can actually serve as both a file manager or organizer and as a media player. One can save digital files onto the iTunes library and then sync them to iOS devices. Purchasing music, TV shows, or even movies can also be done through the iTunes Store. Accessing radio stations is even possible!
If you are interested to try using the iTunes app in the process of how to transfer MP3 files to an iPod, here is the step-by-step guide that you must follow.

Step #1. Using a USB cable, have your iPod connected to your computer (that contains MP3 files).
Step #2. Begin adding the MP3 files that you have on your PC to your iTunes app. To do that, tap the “File” menu. From the options that would be displayed, choose the “Add File to Library” button. It is now time to locate where the MP3 files are saved. Once found, select them. Upon successfully doing it, the chosen MP3 files shall be added to your iTunes library.
Step #3. You must create a new playlist next. To do that, tap the “File” menu (that’s at the top as well), and then choose the “New Playlist” option from the selections shown. Rename the new playlist as you like. You should then drag the added MP3 files (that you want to transfer to your iPod) onto the newly created playlist.
Step #4. Do the syncing process. You have to press the “Music” tab next (locate at the left pane of the screen). Look for the “Sync Music” option. The checkbox next to it must be ticked off. From the dropdown menu, make sure to select the newly created playlist that contains the MP3 files. To begin the syncing process, just simply tap the “Apply” button that’s at the bottom area of the screen.
The process of how to transfer MP3 files to an iPod through the use of the iTunes app is relatively easy. Another good thing about it is that it’s free to use. You just have to make sure that you are using the latest version of the iTunes app.
Though some people regard using the iTunes app as a good method of how to transfer MP3 files to an iPod, there are cases when errors during the syncing process occur. Here are the common ones.
- Some purchased iTunes tracks cannot be synced.
- Some music files cannot be found.
- Proceeding with the syncing process shall replace the iPhone’s content with what the iTunes library has.
If you don’t want to encounter issues during the process of how to transfer MP3 files to an iPod, it would then be good to resort to doing it without using the iTunes app. The second part has more details about this.
Part 2: Transferring MP3 Files to an iPod Without Using the iTunes App
Apart from using the iTunes app, there are other methods of how to transfer MP3 files to an iPod that you can also check out and try. We’ve got two in this part of the article.
#1. Transferring MP3 Files to an iPod Using Mac’s Finder
You can also take advantage of using Mac’s Finder, a built-in tool on Mac, when moving your MP3 files to your iPod. It is a great tool that can help one manage files on Mac and other connected devices. If you’d like to give it a shot, here are the steps that you must perform.

Step #1. Using a USB cable, connect your Mac to your iPod device.
Step #2. Open Finder. From the sidebar, you must choose your iPod device.
Step #3. The “Music” tab must then be tapped next.
Step #4. The checkbox for the “Sync music onto…” option must be checked. You can define if you’d like to sync your entire library or just some selected files.
#2. Transferring MP3 Files to an iPod Using MediaMonkey
MediaMonkey is a free music management tool that can be considered an alternative to iTunes. In case you’d like to try using it during the process of how to transfer MP3 files to an iPod, here are the steps that you must do.
Step #1. Launch MediaMonkey on your PC.
Step #2. Under “Tools”, you must select the “Sync Device” option.
Step #3. Choose your iPod device to finally begin the transfer.
Part 3: Saving Apple Music Songs as MP3 Files to Your iPod Device
Now that you already know how to move your MP3 files from your PC to your iPod, it could also be worthwhile to learn how you can save your favorite Apple Music songs onto it. Thus, we have also added this section of the article.
If you have been using Apple Music, you are surely aware that in order to listen to the songs in offline mode, you have to download the tracks via a premium account. But that does not mean that you can keep the songs forever. Once you opted out of the subscription plan, all your downloaded songs shall vanish. Now, if you’d like to move the songs to your iPod, that won’t be directly possible as well given that Apple Music songs are protected with DRM. So, what’s your way out?
In order to save Apple Music songs as MP3 files and finally transfer them to your iPod, the first thing that you must accomplish is to get rid of their DRM protection through apps like the TunesFun Apple Music Converter. This is a professional tool that has the DRM removal ability and the power to transform files into formats like MP3. It works at a fast speed while ensuring that the original quality of the songs, their ID tags, and metadata information will all be preserved.
The TunesFun Apple Music Converter has also a user interface that’s proven friendly with simple navigation keys. Here’s an overview of how to convert Apple Music songs with the help of this tool.
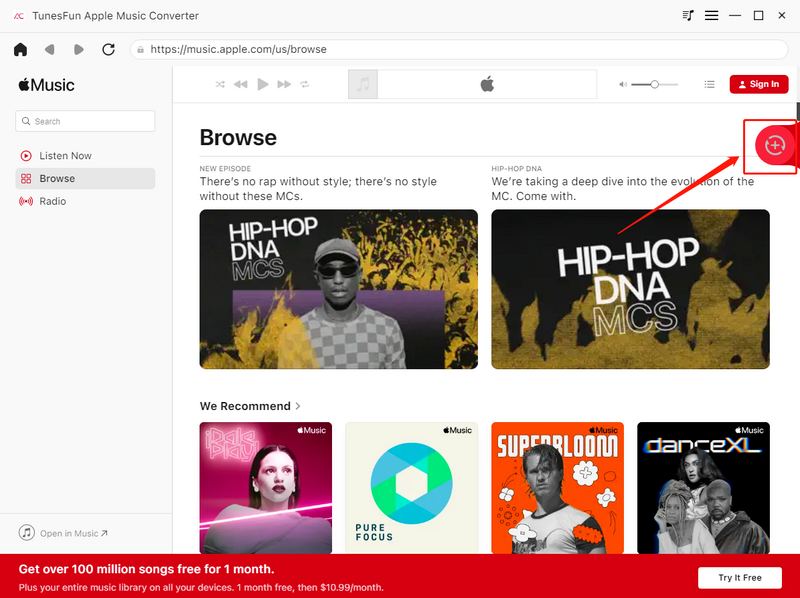
Step #1. Install the TunesFun Apple Music Converter on your PC and open it afterward. Start by previewing and choosing the Apple Music songs to be processed.
Step #2. Choose MP3 as the output format from the supported options. You can also modify the output parameter settings as you like. It is also important that you set up the output folder location to use so the converted files would be easy to access.
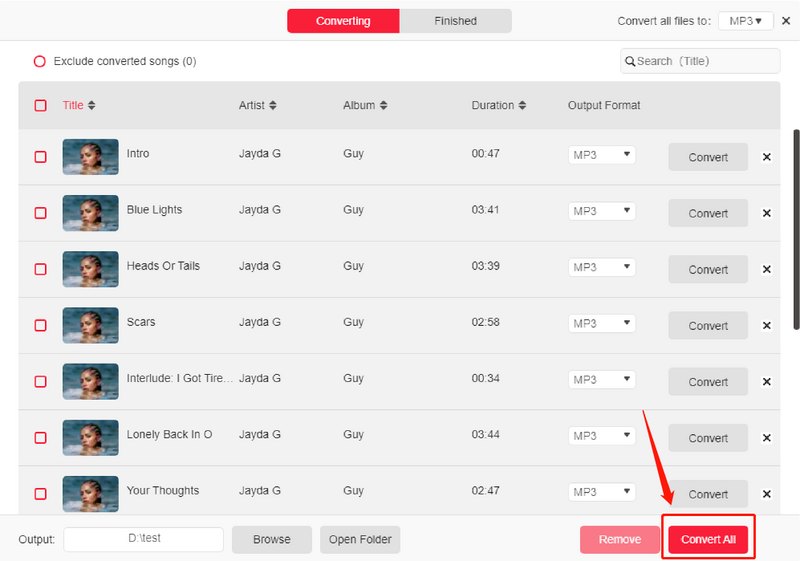
Step #3. Click the “Convert” menu at the bottom to finally begin converting the Apple Music songs that were selected. While the transformation is ongoing, the DRM removal process shall also happen at the same time.
In a few minutes, you’ll get to have the MP3 versions of your favorite Apple Music songs saved on your PC. You can have these tracks synced to your iPod and start listening to them even without an Apple Music subscription!
Part 4: Summary
With regards to the process of how to transfer MP3 files to an iPod, you can accomplish it with or without the help of the iTunes app. Just remember that if you are looking at saving and accessing your favorite Apple Music songs on your iPod device, you need to remove their protection first and convert them to formats supported by iPod such as MP3 through the help of tools like the TunesFun Apple Music Converter!
 Home
Home
Leave a comment